IOT NeoPixel Lamp
Functional Demo
Mode 1: Color Picker
- User can pick any RGB color from the color picker in the app.
- User can adjust brightness.
Mode 2: Color Cycle
- Ring cycles through the RGB spectrum.
- User can set the brightness and speed of the animation.
Mode 3: Color Wheel
- Ring cycles each LED in the ring through the RGB spectrum out of phase to give the color wheel effect.
- User can set the brightness and speed of the animation.
Mode 4: Candle
- NeoPixel ring alternates between different brightnesses and orangish colors at variable intervals to simulate the flicker of a candle.
- User can set the brightness and speed of the animation.
Motivation
A long time ago, I made a Color Shifting Chameleon Lamp for my sister to use as a night light. After many years of faithful service, my 1st-year engineering design had started to fall apart. As a replacement, I decided to quickly whip up this lamp to essentially do the same thing but better.
I wanted to maintain the color cycling modes of the Chameleon Lamp, hence modes 1 and 2. In addition, my sister is a graphic designer and photographer, so I thought having a controllable RGB light might be useful for photo or packaging shoots, hence mode 1. Lastly, my sister had mentioned to me that she wished there were plug-in fake candles she could use to dim the light in her room in the evening without having to worry about changing batteries, hence mode 4.
I decided to make the device controllable from a phone app firstly, to use up some hardware I had laying around, and secondly, to keep the hardware interface of the lamp as simple as possible.
Mechanical Design
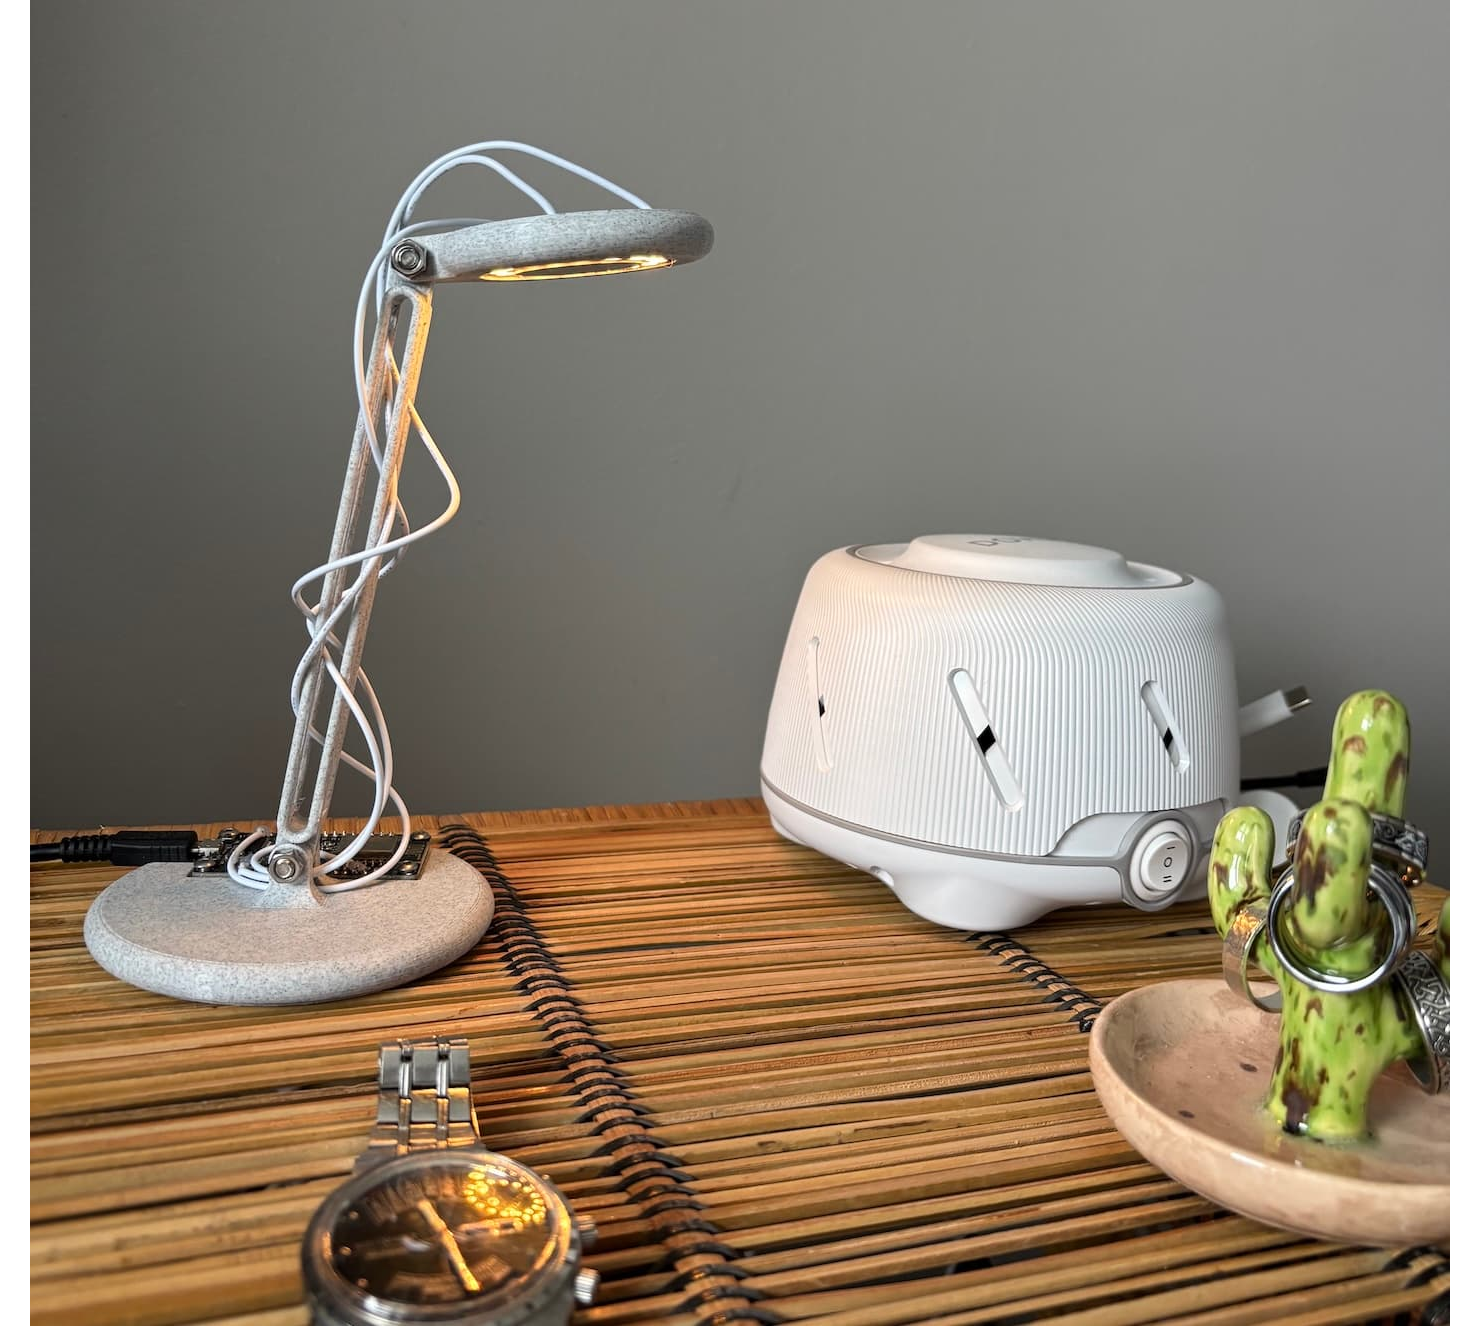
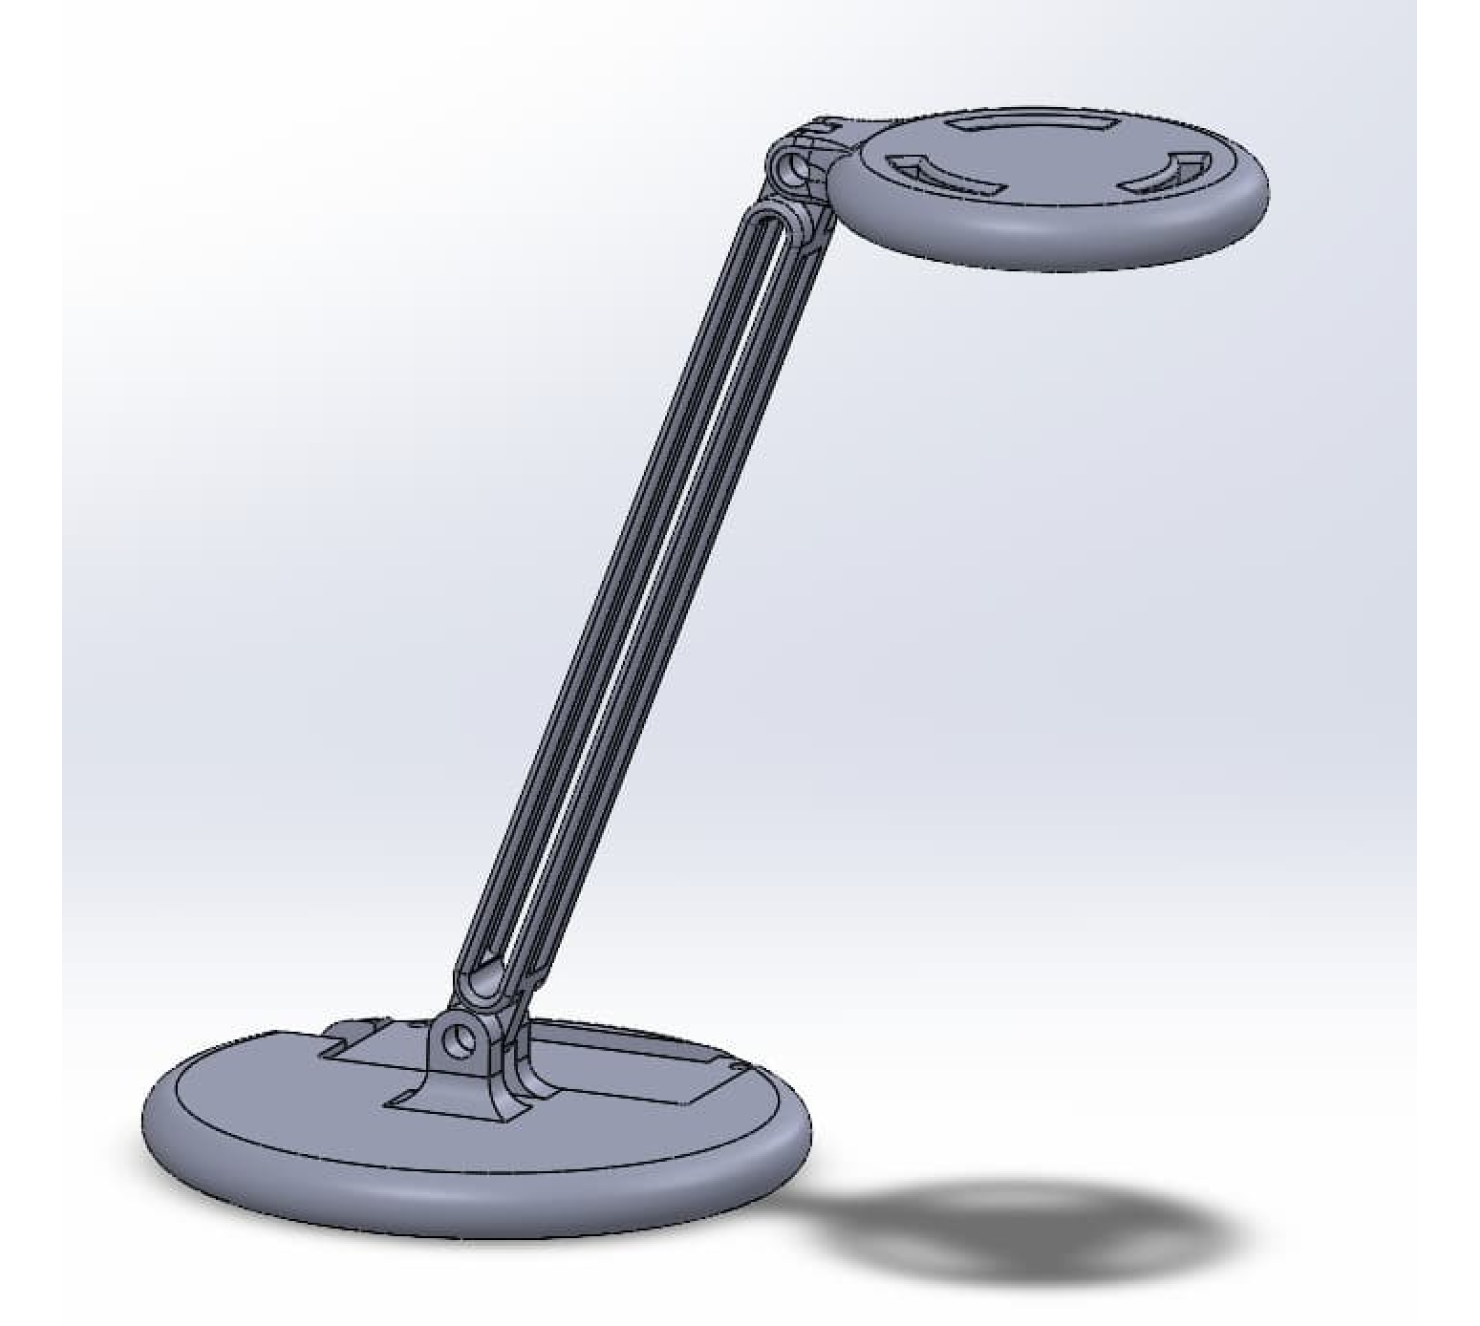
The guiding principle of the lamp’s design was simplicity. I wanted it to be visually uncomplicated, easy to print, easy to assemble, and reasonably robust. In conjunction with this, I tried to incorporate the wires into the design as a feature, rather than making a more complex model which would attempt to hide them. I modeled everything in a single part file because I’m lazy.
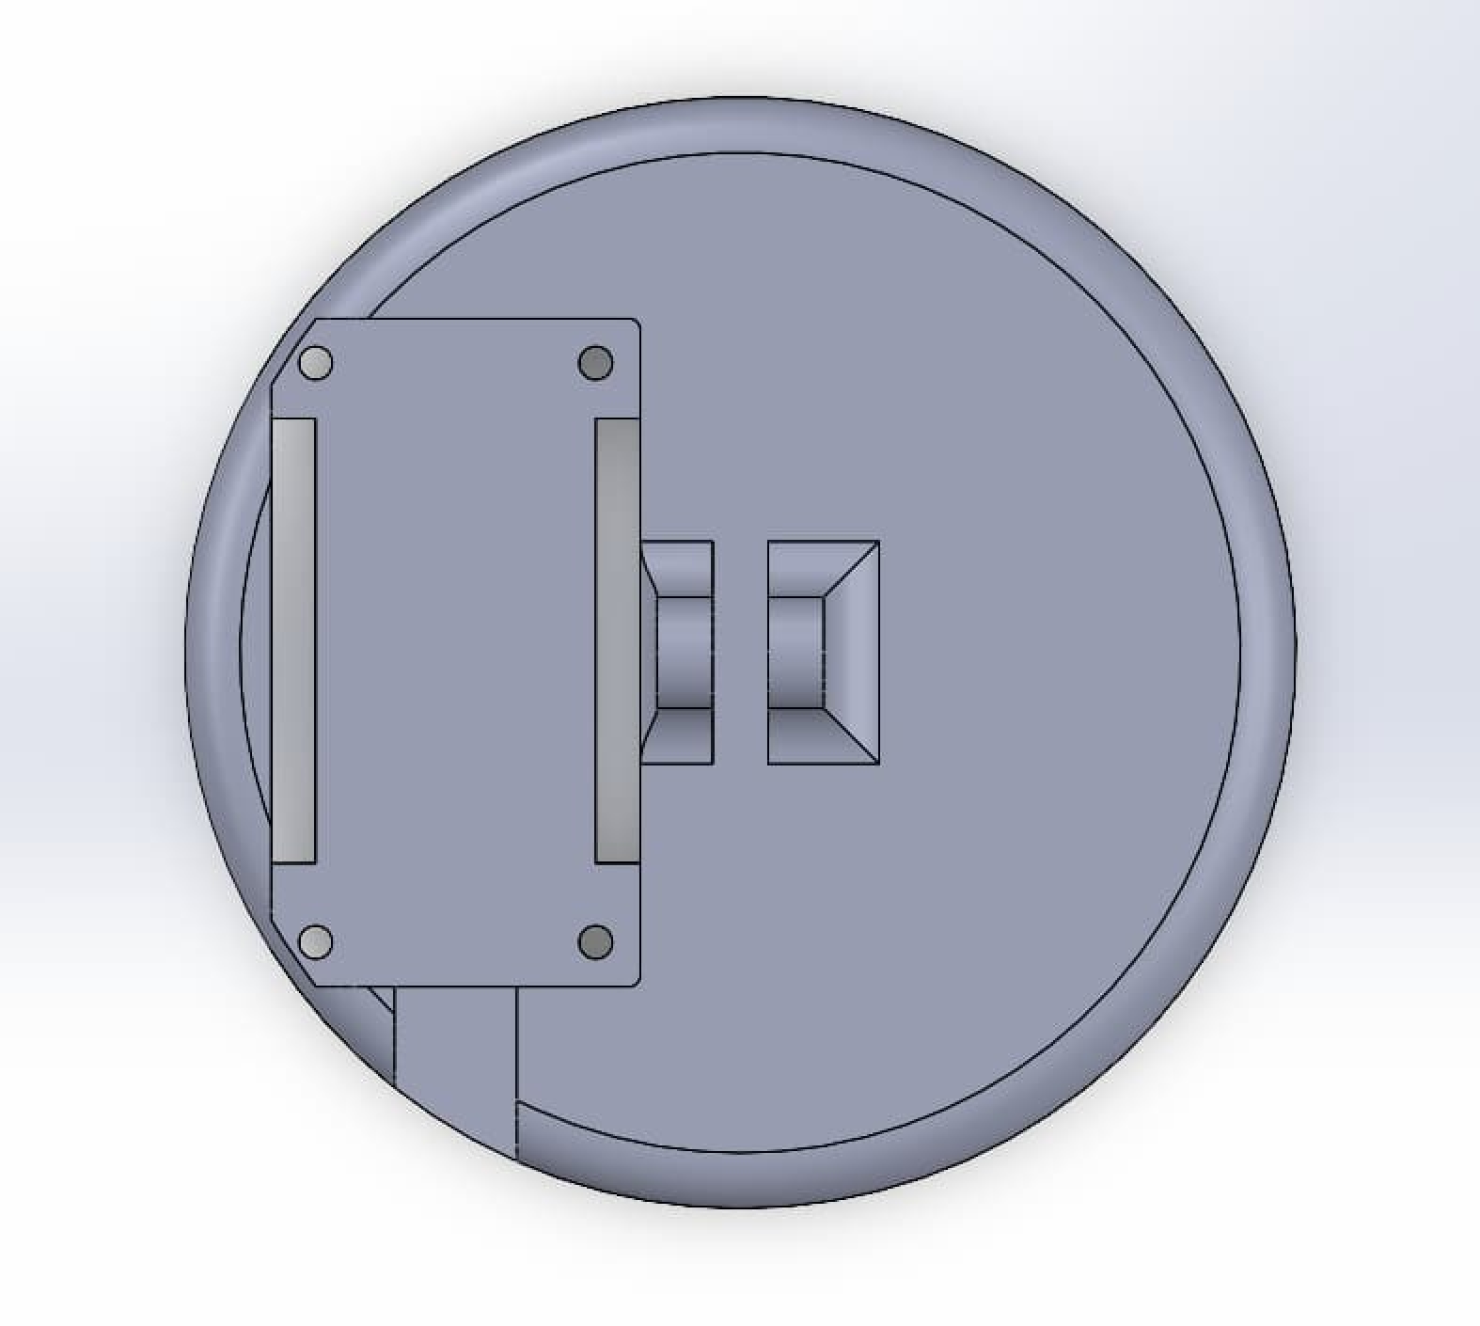
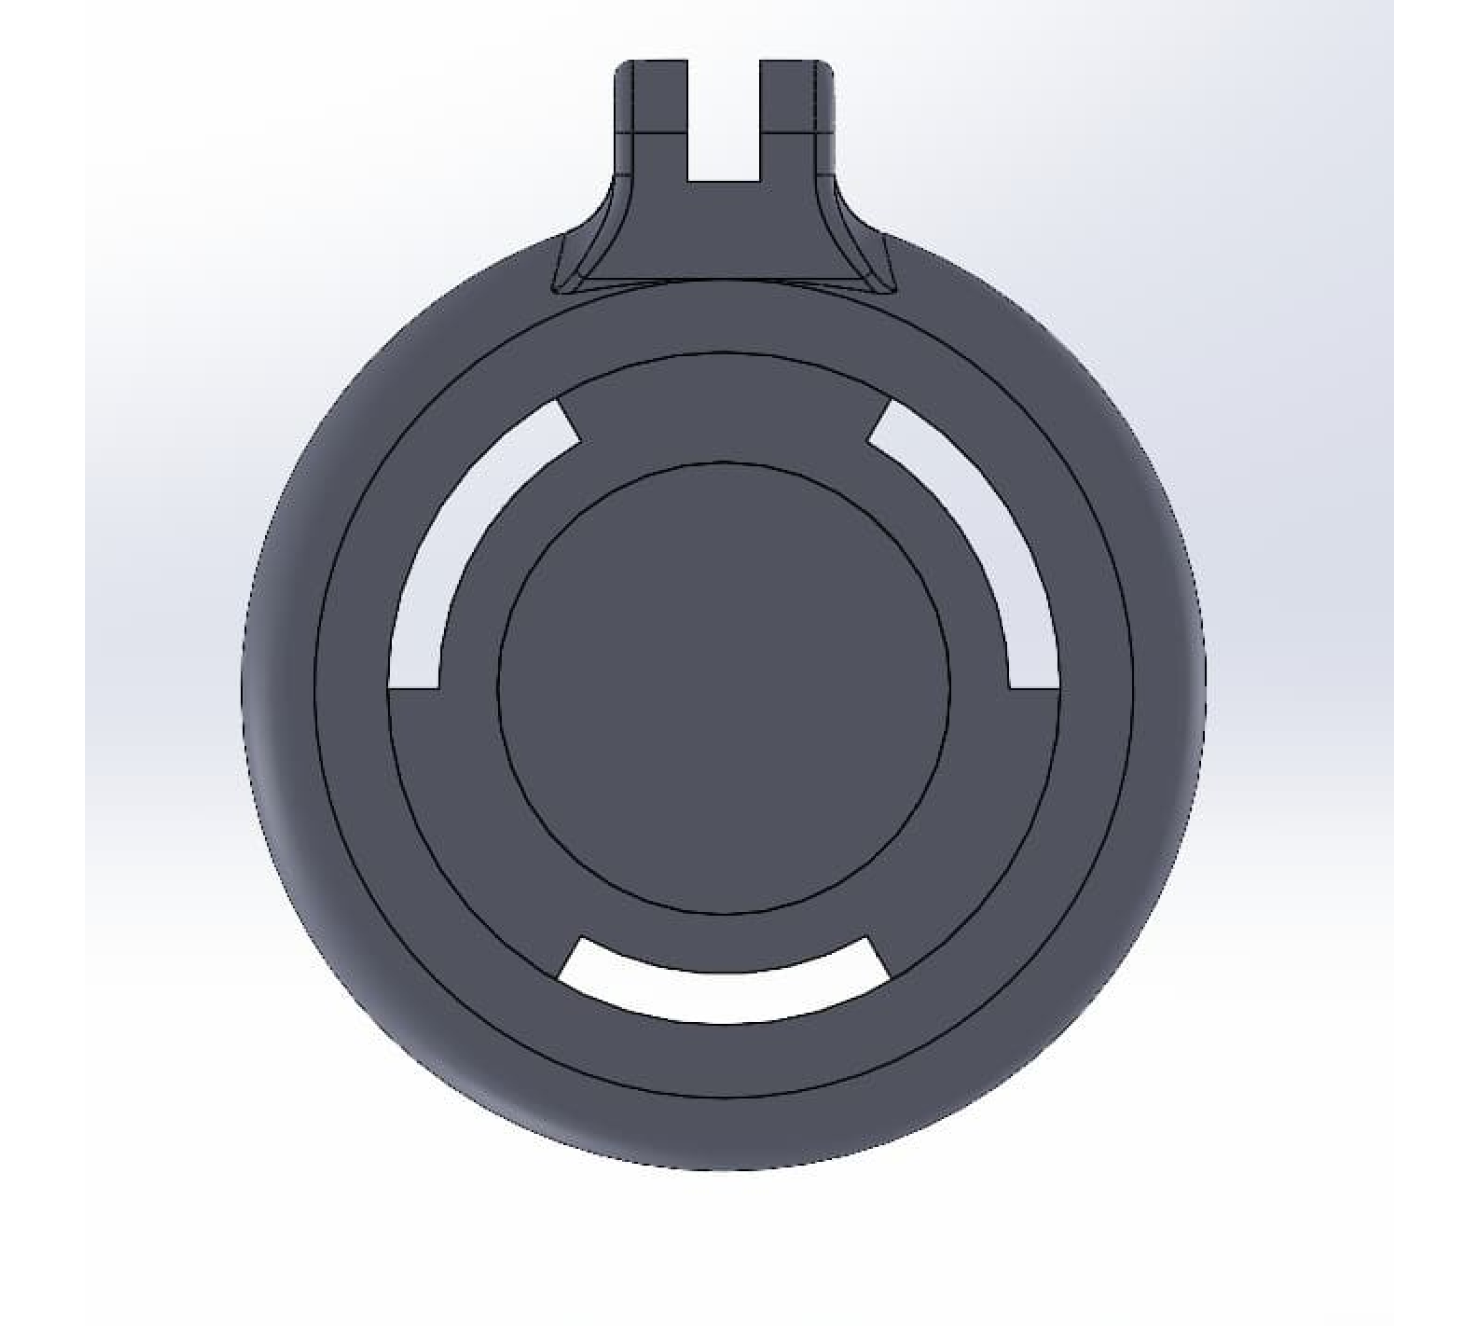
The NodeMCU microcontroller pops into the base part and is secured with 4 M3 fasteners. The NeoPixel ring has an interference fit with the top part of the lamp. The pins of the lamp’s joints are M4 bolts, which can be tightened against a nut to lock the joints in place.
Electrical
The electrical design for this project is as simple as it gets. One microcontroller and one output device. I had a NodeMCU which I purchased in a pack from previous projects. The NodeMCU can be programmed with the Arduino IDE and is compatible with Arduino libraries but includes an ESP32 chip so it can connect to Wi-Fi. I used a NeoPixel ring because I purchased a pack of two with the purpose of using one for my capstone project.
Software
The software is also relatively simple. Blynk was used to create the mobile app because I’ve used it before and I know how simple it is to set up. The UI of the app can be made using drag-and-drop widgets which are then assigned to data streams that can be connected to variables in the Arduino code.
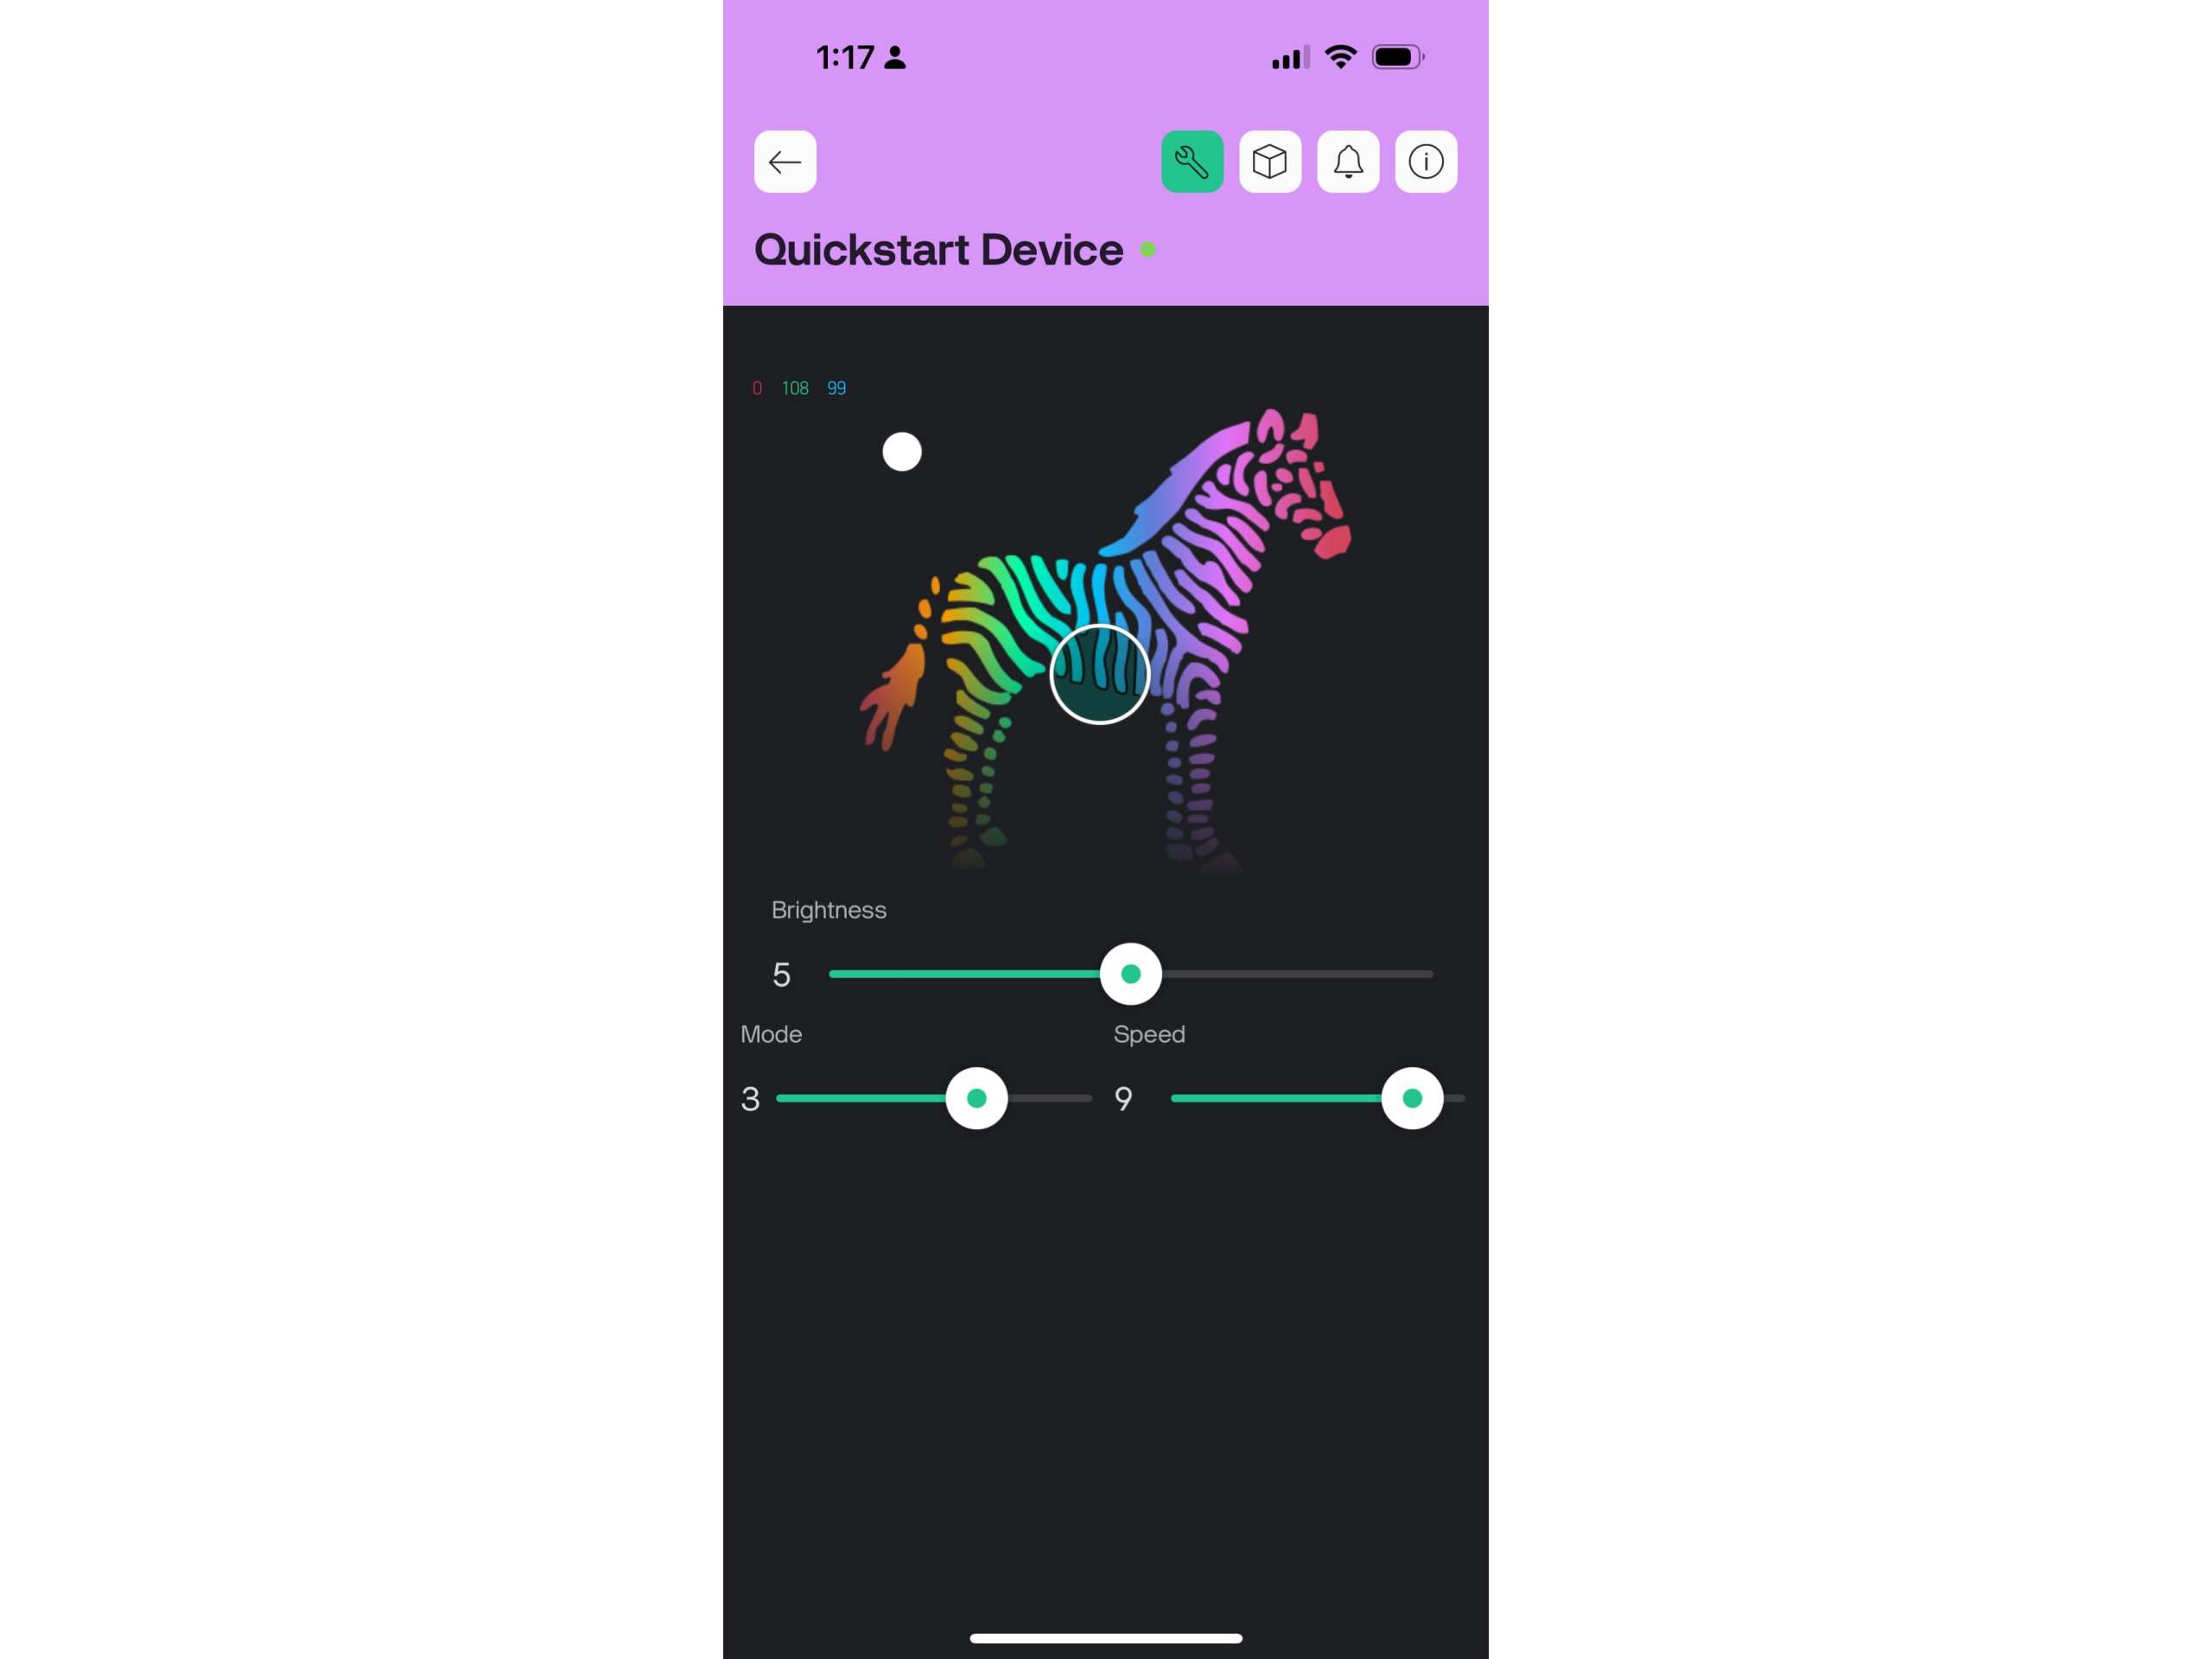
In the Arduino app, various functions are defined which allow values to be updated from the Blynk app. In the main loop, a function to update the ring is called which uses the Adafruit_NeoPixel.h library to set the state of the ring. Below is a snippet that shows the logic for how the LED is updated when in candle mode.
case CANDLE: {
      static float smoothBrightness = brightness;

      // Define flicker range as a fraction of current brightness
      float flickerRange = brightness * 0.2; // 20% of brightness

      // Ensure some minimum flicker when brightness is low
      if (flickerRange < 10) {
        flickerRange = 10;
      }

      // Calculate min/max target
      float minTarget = brightness - flickerRange;
      float maxTarget = brightness + flickerRange;

      // Clamp to valid brightness range
      if (minTarget < 0)   minTarget = 0;
      if (maxTarget > 255) maxTarget = 255;

      // Pick a random target within flicker range
      float target = random((int)minTarget, (int)maxTarget + 1);

      // Smooth transition
      smoothBrightness = smoothBrightness * 0.9 + target * 0.1;

      // Set candle color (adjust as desired)
      for (int i = 0; i < ring.numPixels(); i++) {
        ring.setPixelColor(i, 95, 180, 0);
      }
      ring.setBrightness((uint8_t)smoothBrightness);
      break;
    }
Reflection
This was a fun and easy project which served as a nice break from the more intensive work I had been doing for school and capstone. I think the result turned out great and my sister really loved it. This project gets an A+ on ROI.
