RC Airsoft Turret
The goal of this project was simple, to create a robot that would allow me to control and shoot an airsoft gun using a RC remote.
This project proved to be much more difficult than anticipated. This was the first project I’ve made that moved and it was my first time working with RC and thus the learning curve was steep to say the least.
Mechanical Design
The mechanical engineering for this project was by far the most difficult portion. It took a long time for me to wrap my head around how to make the gun able to move in two different axis.
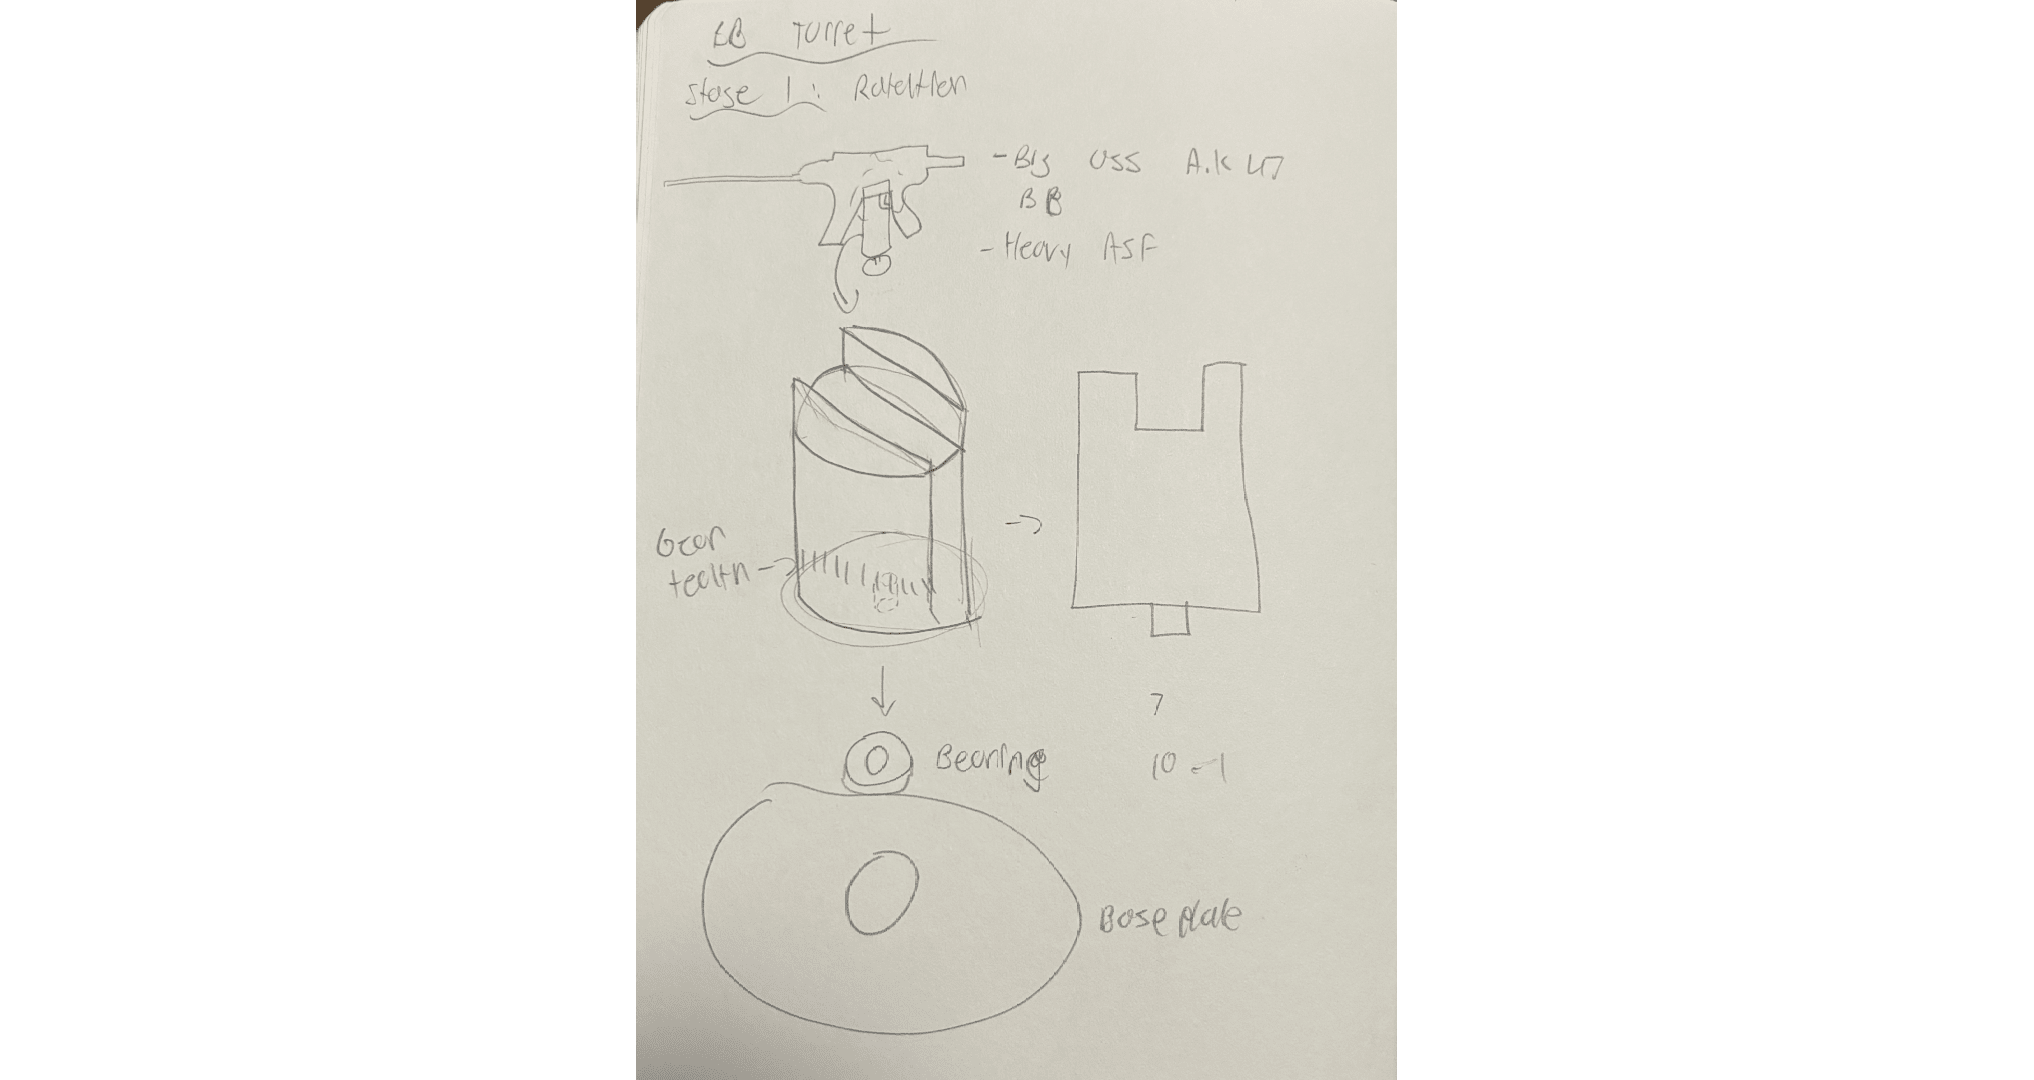
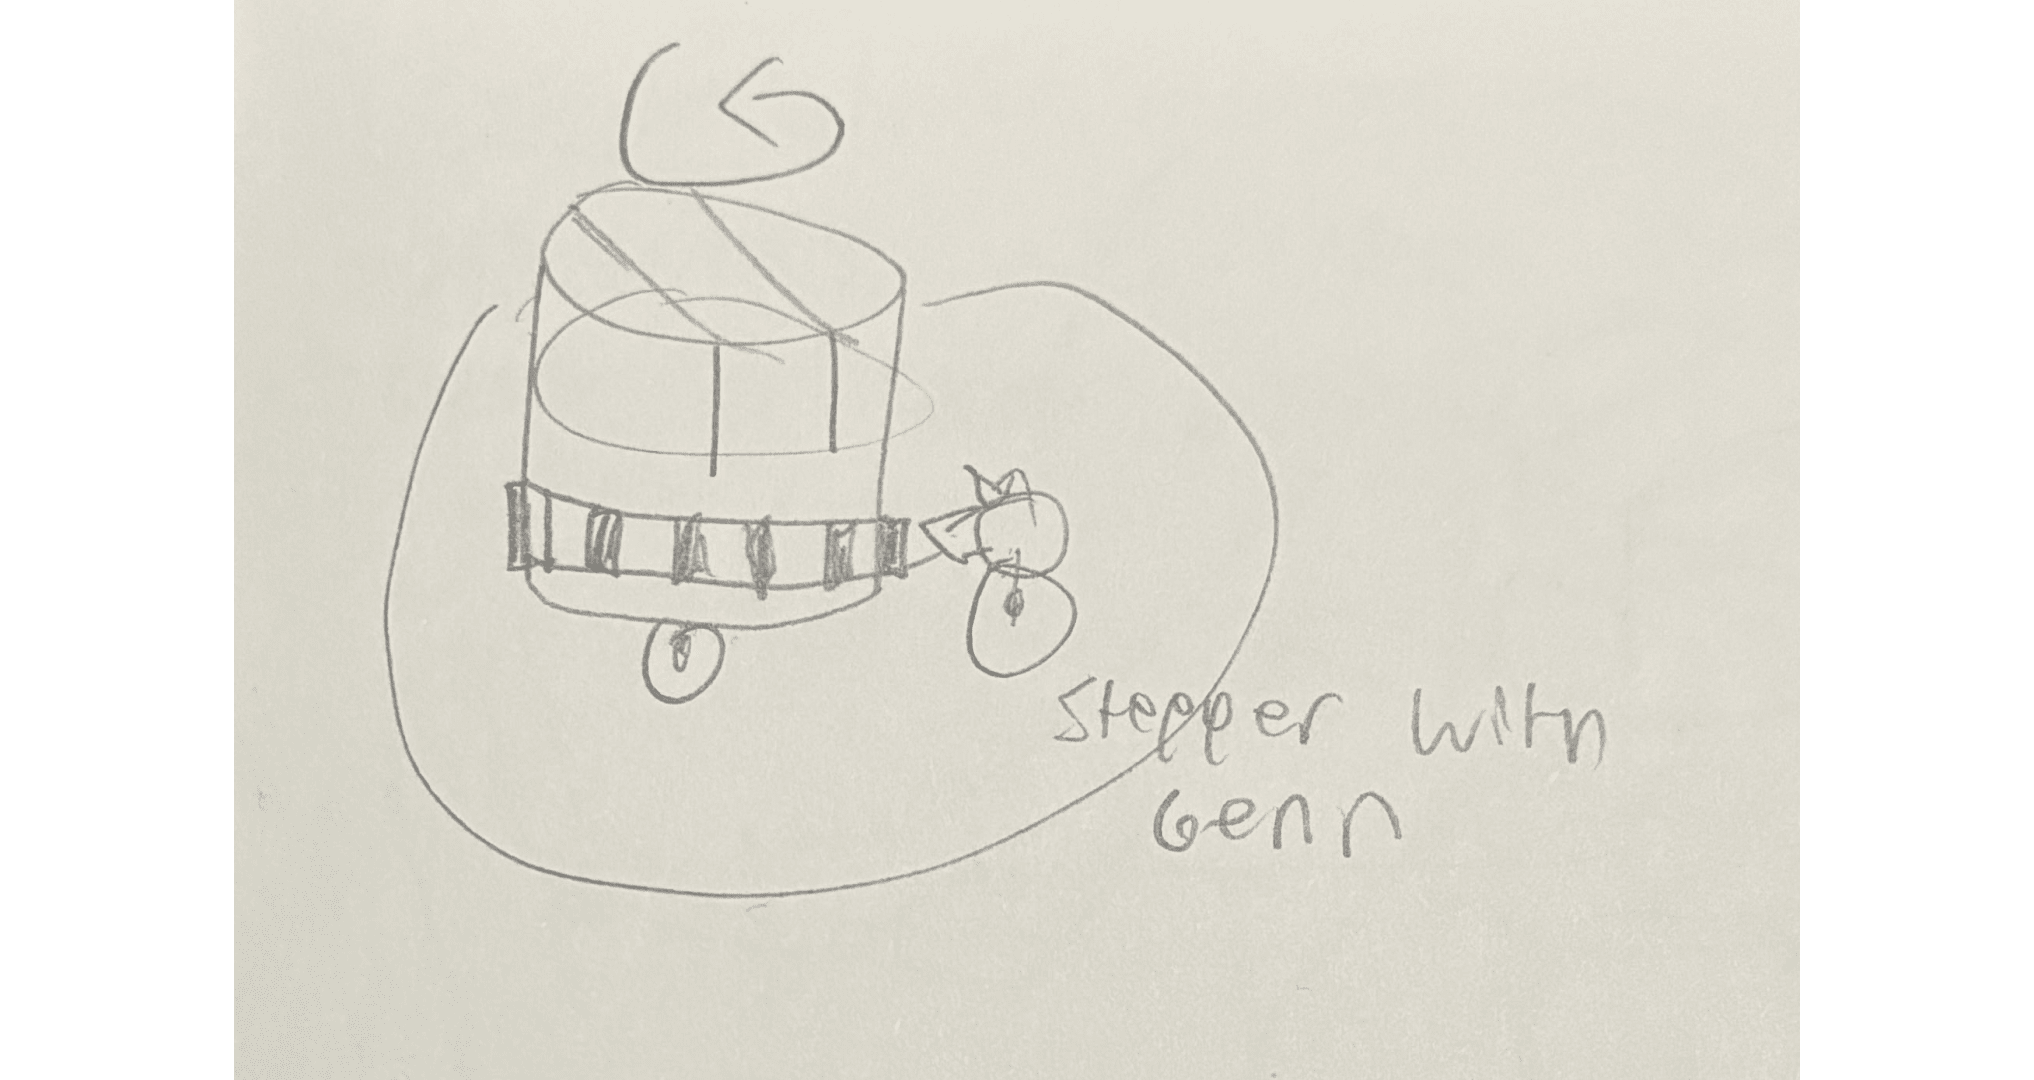
The gun is able to rotate 360 degrees thanks to the system shown below. The larger part with gear teeth sits on a skateboard bearing allowing it to rotate freely. The gear below is mounted to a stepper motor which drives the system. This design was needed due to the fact that the gun and all of the parts would have been too heavy to mount directly on to the motor.

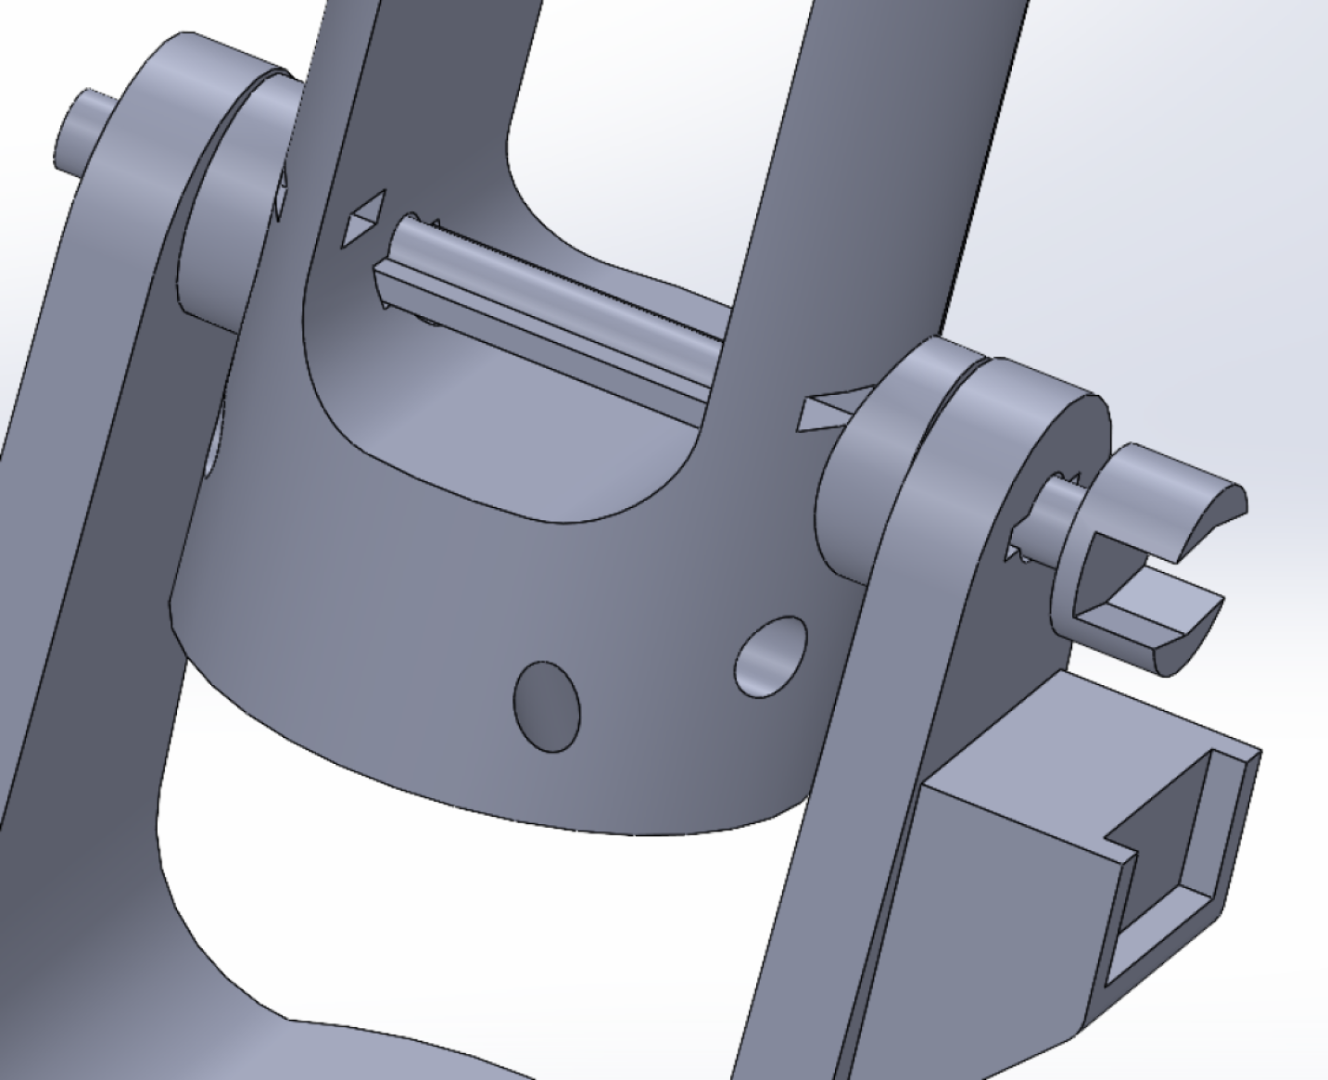

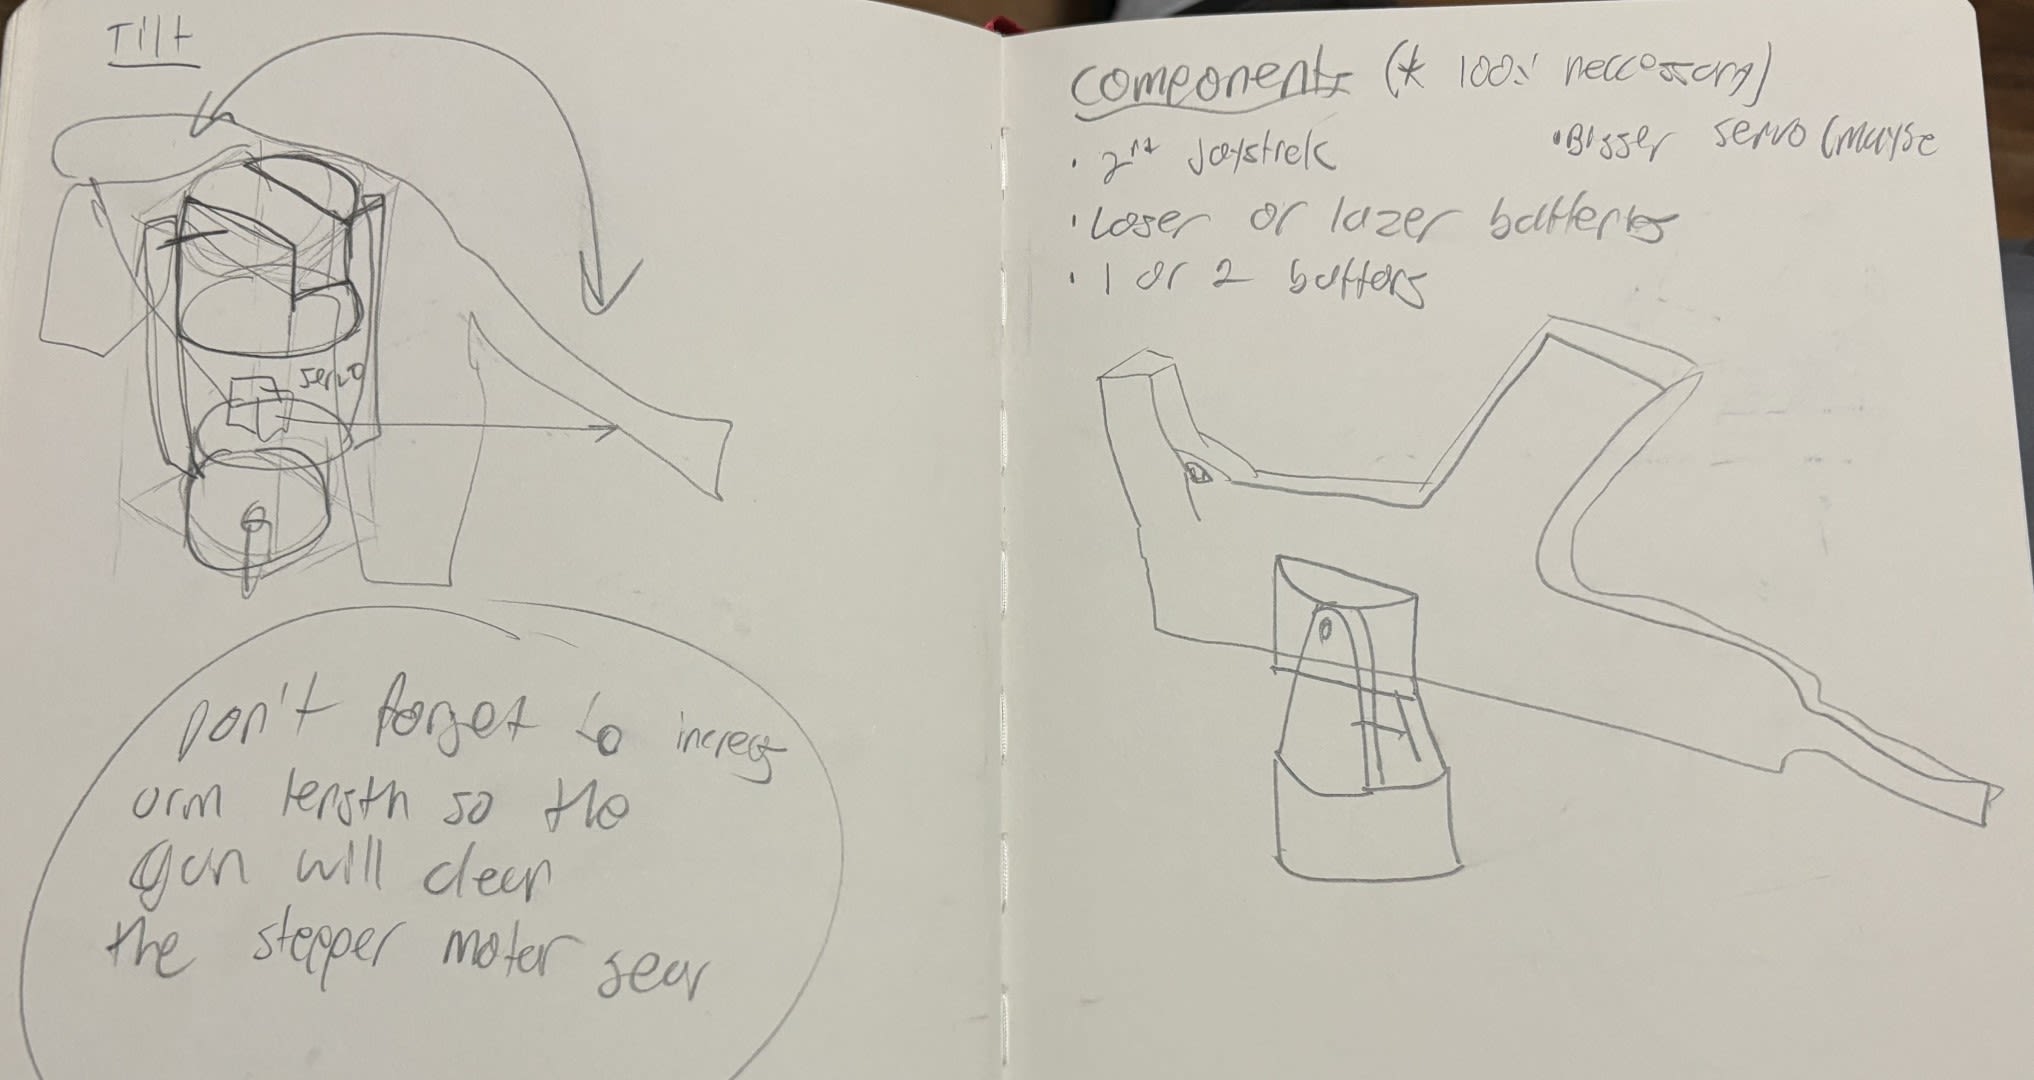
The tilt of the gun is controlled via a servo motor which is mounted on the end of the pin and the fixed to the portion of the gun mount that is stationary in this axis. From horizontal, the gun is able to tilt 30 degrees up and 30 degrees down.
The two objects floating side by side towards the top are some aesthetic extras, a laser and a flashlight case. The laser case housed a 5V laser diode while the flashlight houses 3 white LEDs.
Hardware Design
The system included 3 Arduino Nano’s. one on the tripod which controls rotation, one on the gun which controls firing, lights and tilt and one in the remote. To allow the Arduinos to communicate with one another I used 3 NRF24l01 Radio modules, one for each Nano.
The Arduino Nano in the remote is wired to two joysticks and two push-buttons. The left joystick controls tilt, the right one controls rotation. The first button is used to fire the gun and the other toggles the lights on and off.

The Arduino on the tripod is wired to a stepper motor driver which drives the stepper motor as well as some LED’s for under-glow.
Lastly, the Arduino on the gun is wired to a HS-422 servo which controls the tilt of the gun. For the firing mechanism there are 2 SG90 micro servos which pull the trigger. For added effect, this Arduino also controls a 5V laser diode and 3 white LEDs for the laser and flashlight respectively.
Code
The code for this project was the easiest part. The most difficult part about it was finding a good library and tutorial to use with the NRF24l01 modules.
The code below is from the Nano mounted on the gun which controls the servos. Here you can see how easy it is with this library to read data from the remote and then use it as you normally would.
void loop() {
  // Refreshes the network
  network.update();
  // Read the transmission
  while (network.available()) {
    // Reading transmision
    int dataArray[4] = {};
    RF24NetworkHeader header;
    network.read(header, &dataArray, sizeof(dataArray));

    // Assigning data from transmission
    xRead = dataArray[0];
    yRead = dataArray[1];
    fireRead = dataArray[2];
    flashRead = dataArray[3];

      // Controlling Big Servo
    if (xRead > 900) {
      bigPos += 1;
      if (bigPos > upper) {
        bigPos = upper;

      }
      bigServo.write(bigPos);
    }
    else if (xRead < 100) {
      bigPos -= 1;
      if (bigPos < lower) {
        bigPos = lower;

      }
      bigServo.write(bigPos);
    }
  }
  // ...
}
Once the Arduinos are able to send data to each other, the logic used to control the servos, stepper motors and LED’s isn’t any different that it would be with a wired connection.
Concept Sketches


Relfection
This project took me the longest to complete of any of my projects up to this one. As of writing this, this is my favorite and most gratifying project I’ve done. There’s something about controlling an airsoft gun remotely that is just so cool and satisfying.
If I were to do this again I would be a lot more careful in my wiring and soldering. I soldered together a final version of the remote pretty early on in this project and it seemed solid initially. However, as I continued to work more things stopped working and I spent hours and hours testing and trying to figure it out, never even considering the wiring of the remote as a potential point of failure. The NRF modules are very sensitive to disturbances in their power supply and so some of my poorly spliced wires must’ve been causing them to fail. After I had already tried everything else I could think of to fix this issue, I finally decided to completely rebuild to remote from scratch, this time being much more carefully. After I did this everything started working flawlessly.
The only other thing I’d like to change in the future is the power supply for the servos. I decided to use a 4x AA battery pack to power the servo motors. With fresh batteries this works fine because they are able to supply the optimal voltage to the servos (6V). However, as soon as the batteries get a bit of use in, they are no longer able to produce enough voltage to allow the two SG90 servos to pull the trigger, they simply stall out. To fix this I would replace the battery pack with a 9V rechargeable battery in series with a with a 6V voltage regulator. Alternatively, I could replace the two micro servos with something a little more substantial.
All-in-all this was a great project and I learned a ton completing it. This project has also been the largest success among my friends and family and the online communities that I’ve shared it with.