Dopamine Box
The Dopamine Box is an idea I got from YouTuber Mike Boyd.
The purpose of the box is to serve as a physical checklist which uses stimulus feedback to positively reinforce completing the tasks.
Additionally, the finite number of buttons and lights means that once you have a certain number of the tasks done, your motivation to complete the last few should increase.
Hardware Design
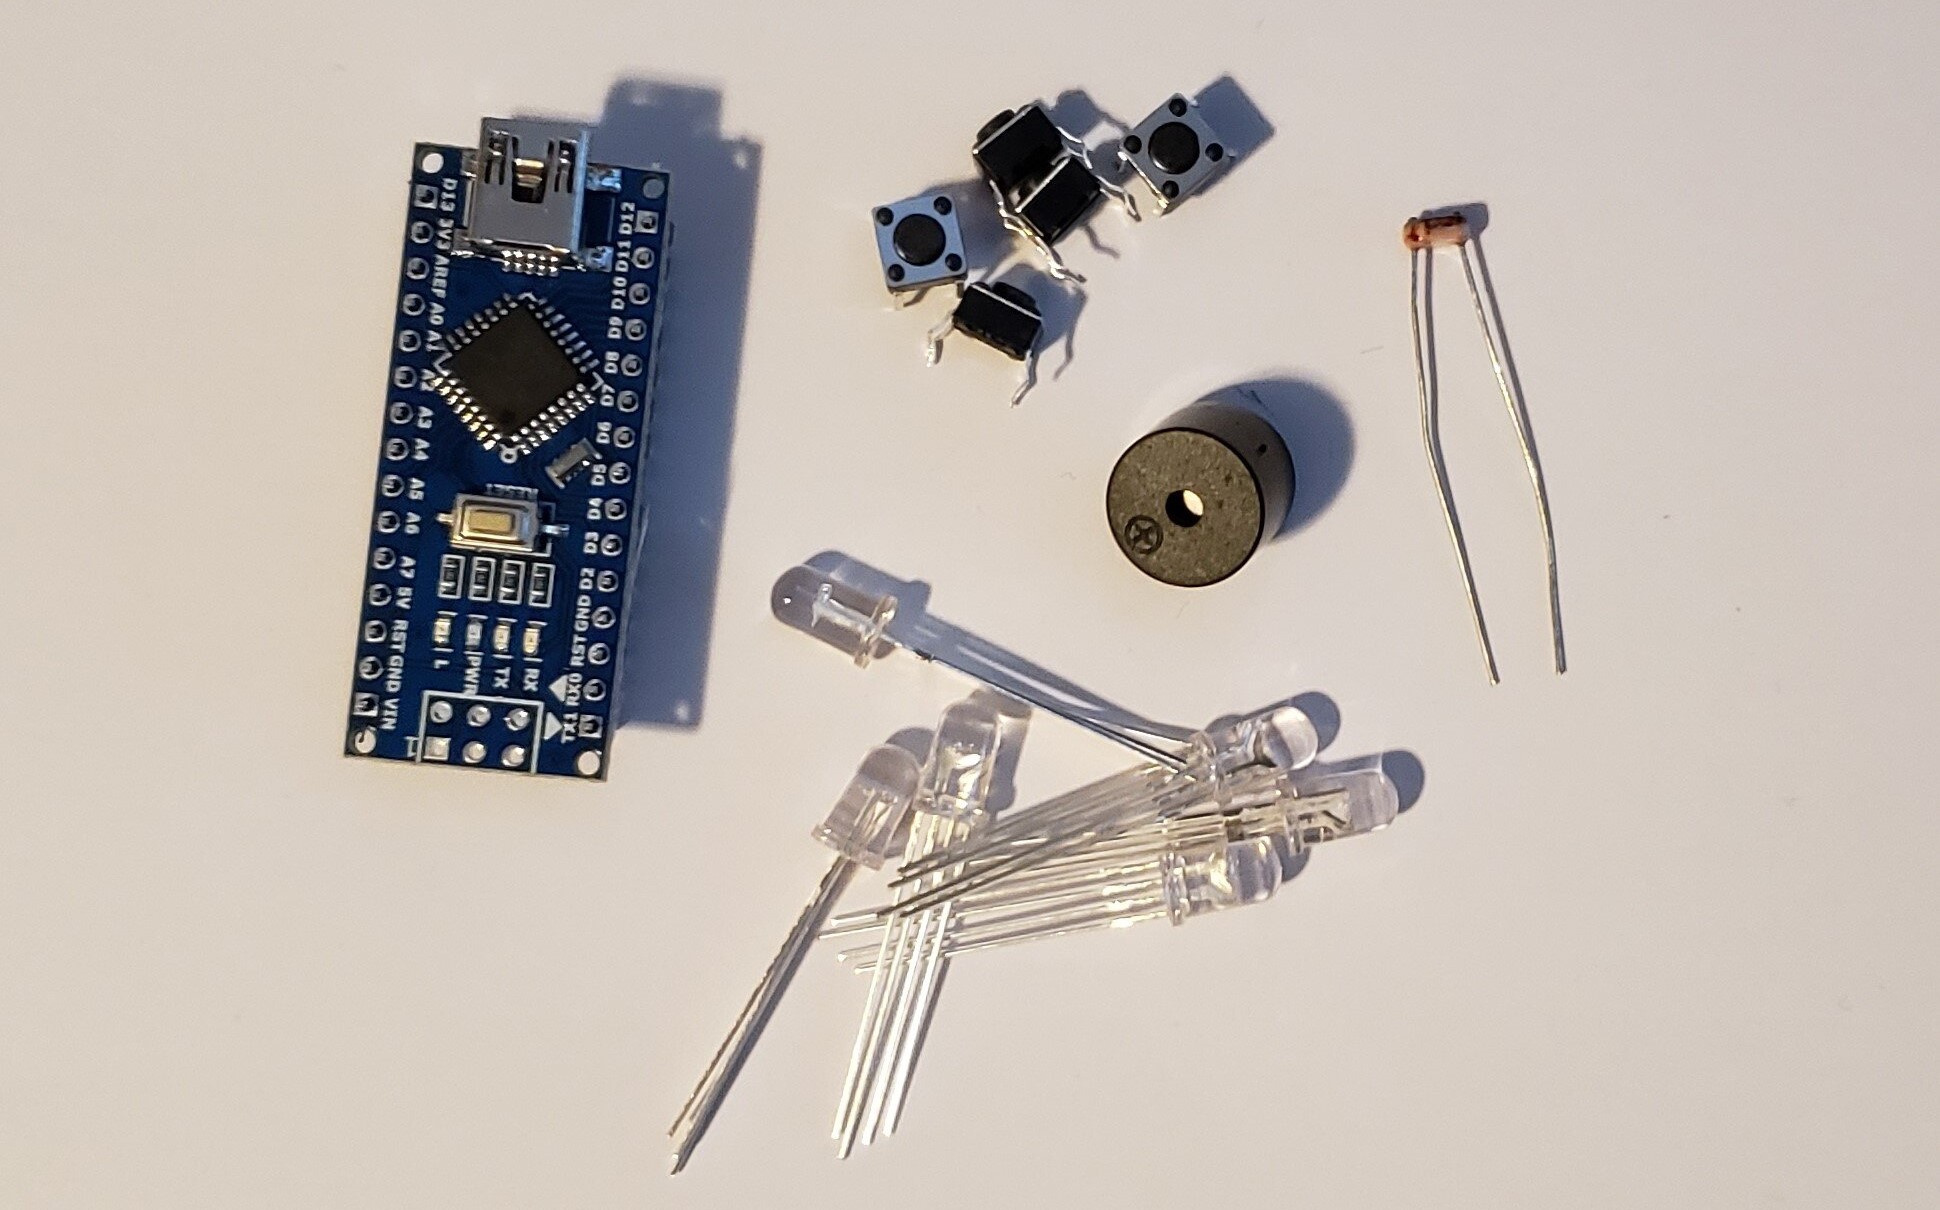
The hardware for this project can be found in most ‘Arduino Starter Kits’. The microcontroller is an Arduino Nano, which is then wired to 5 push buttons, 5 green LEDs, 1 RGB LED 1 passive buzzer and 1 photo-resistor.

The photo-resistor is read constantly and once it detects the lights in the room have been turned out, it turns all of the LEDs off regardless of previous user activity. When the lights in the room come back on, the LEDs that were previously on, turn back on.
Mechanical Design
To create the designs on the LED plate I had my sister create some clip art. I then imported the clip-arts as sketch images and from there I carefully traced the designs using primarily splines and straight lines. The trick with this is to only use a two pointed spline per curve. This makes creating complicated lines pretty easy.
Code
There are two main sections to the code for this project. The first is used when any task is complete and the second is used when all tasks are complete.
When a user presses a push button, it simultaneously lights the vertically aligned LED and releases a tone from the buzzer. The tones on buzzer and move up a scale from left to right across the buttons. A button push will only induce a tone the first time it is pressed.
Once all of the buttons have been pressed at least once and all of the green LEDs have been turned on, the victory animation begins. It starts by shifting an LED off, left to right and then right to left. Next, the RGB briefly flashes between yellow, cyan and magenta. On each colour flash a note is played from the buzzer with one additional note not associated with a flash. The four notes combined make a ‘victory noise’ which is from pokemon I believe. Once the animation is finished the RGB is left on green to match all of the others.
To reset the box, the user must press the first and third buttons simultaneously.
Concept Sketches
Reflection
While this was not a challenging project, it is easily one of my favorites. I am the type of person who is always trying to adopt new habits and this box has been hands down the most successful method for creating new habits. Before creating this box, all of these tasks were on my daily list, but I rarely completed them all, now it’s rare that I miss a day on any of them.
There is a lot of room for improvement with this project. First off, the code is written horribly. Reviewing this project as I make this website really shows how much I’ve learned over the last few months. As of writing this I think I could easily shave a hundred lines off my code, if not more.
Secondly, though I didn’t show it here, my wiring and soldering were pretty chaotic. This project was the first thing I ever soldered together so it’s no wonder it was a mess but again, it’s a really nice metric for growth.
Another thing I realized after having the box for a while was that I should have used larger resistors for the LEDs, they were way too bright. I didn’t have the LEDs connected to PWM pins, so in order to dim the light a bit I designed and printed some caps in while PLA which sit on top of the LEDs. You can see these caps featured in the videos and pictures of the box, however I did not include them in my discussion of the CAD.
I use the project everyday and it has contributed immensely to making me a more productive person. It’s really hard to think of projects that can do any more for you than that which is why this is one of my favorites, despite is simplicity.


