Color Shifting Chameleon
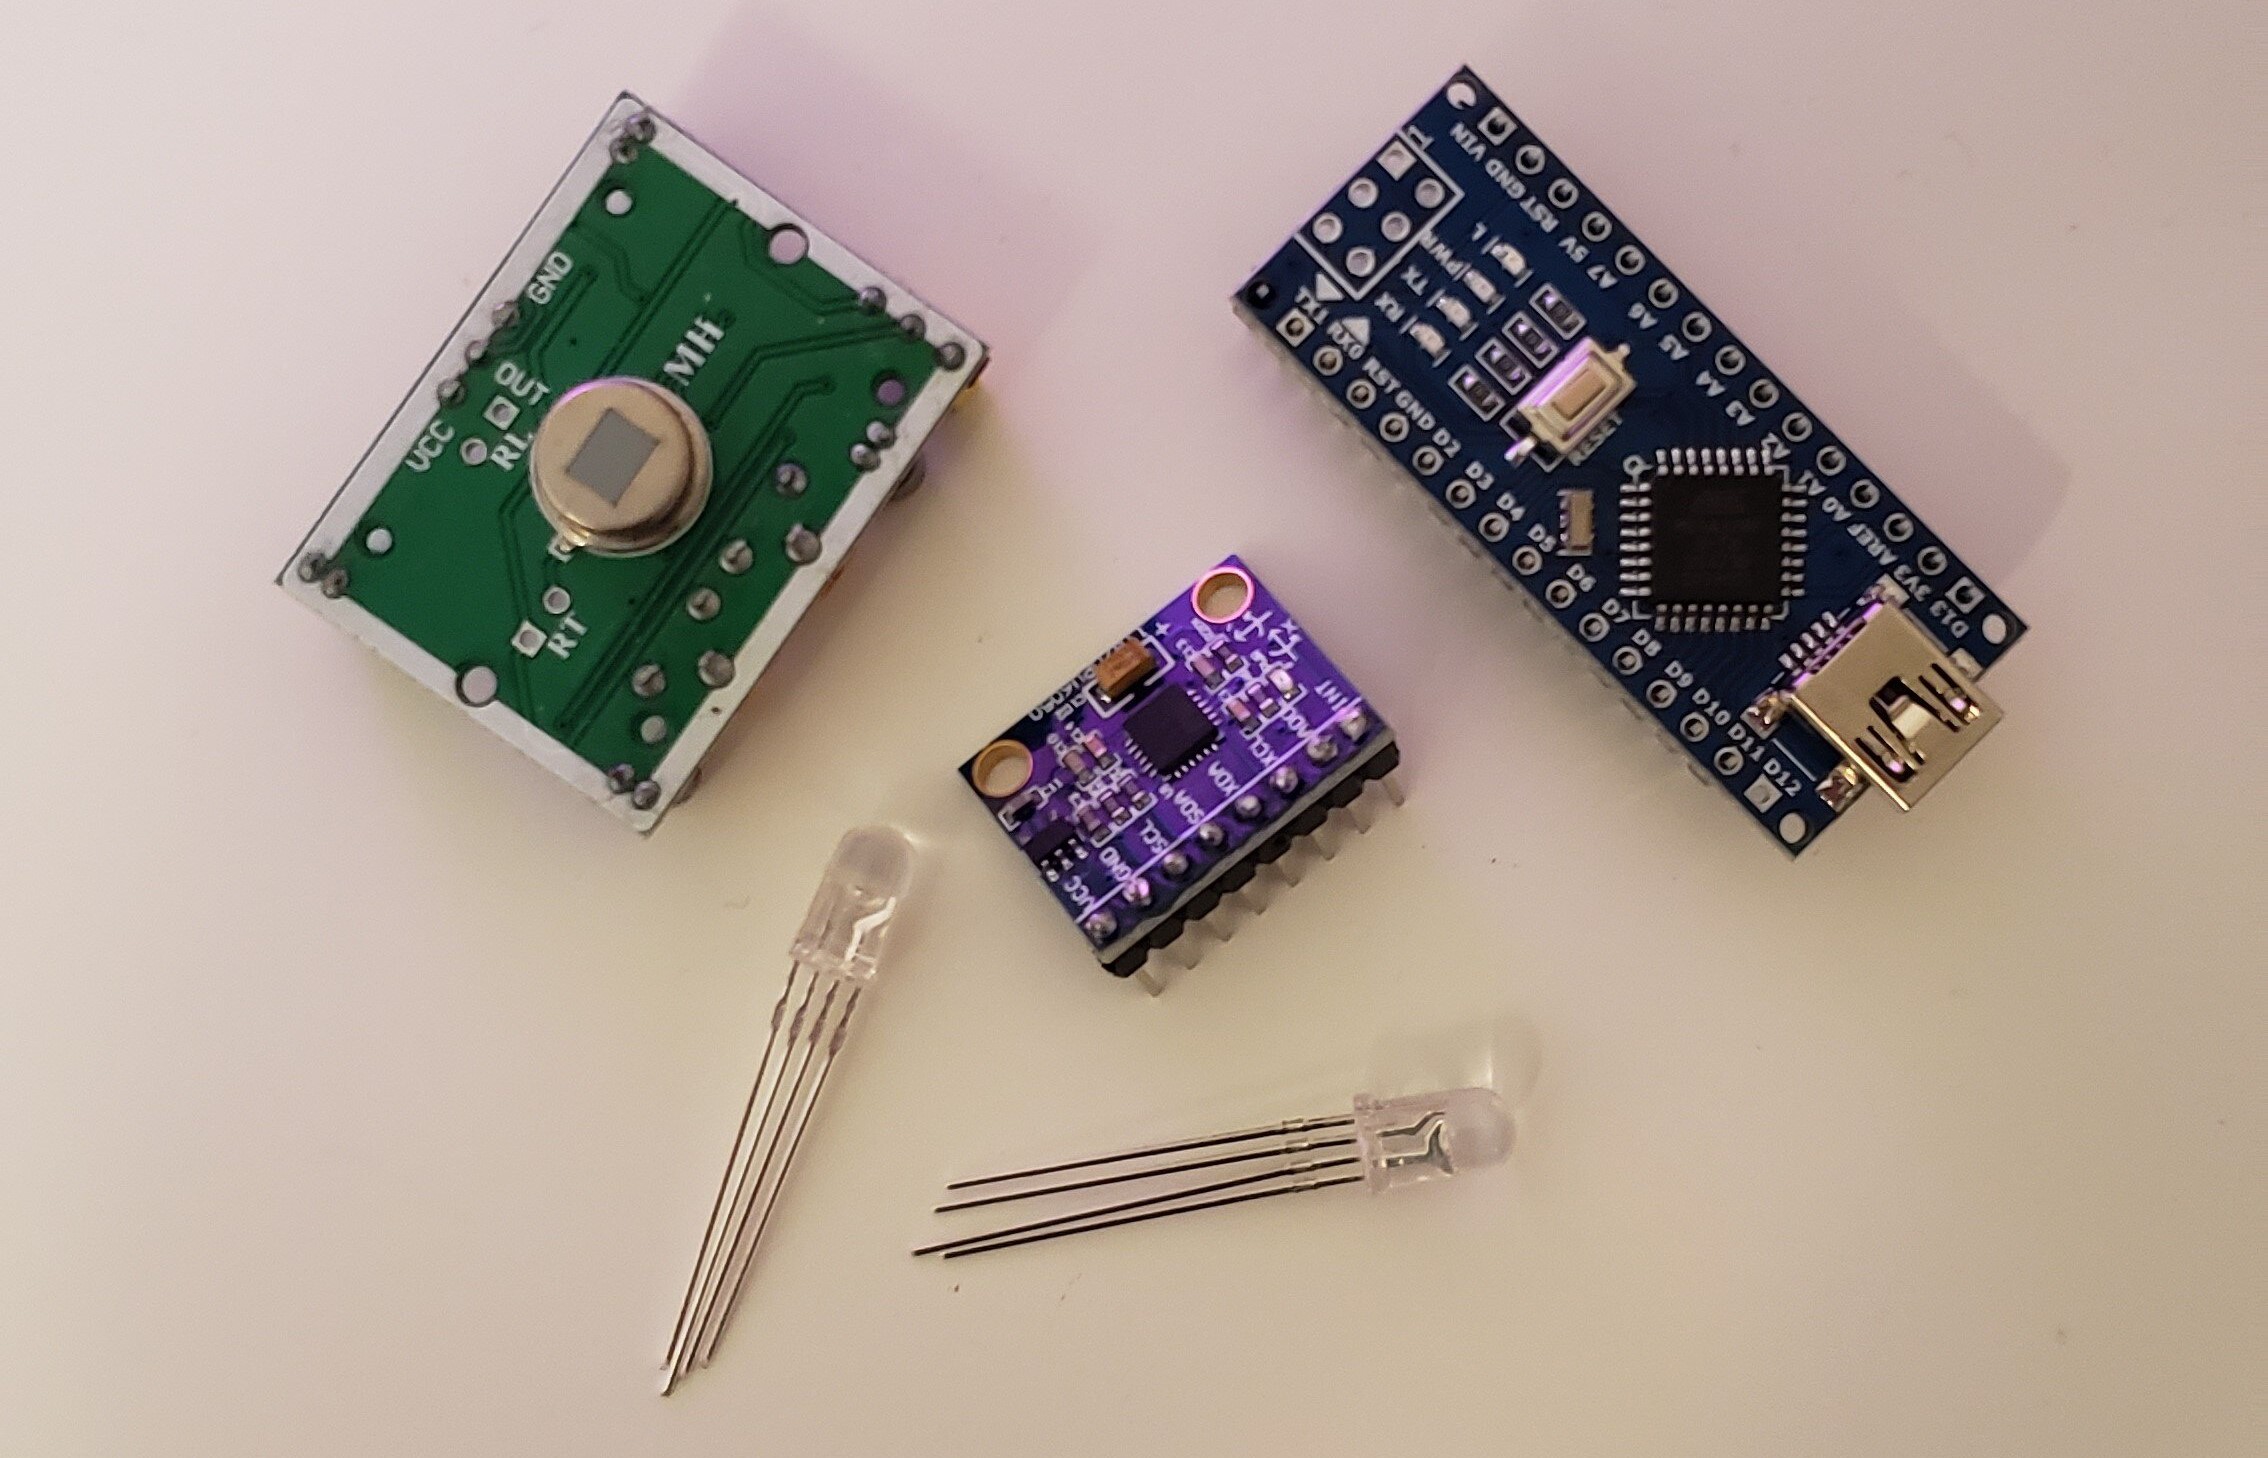
This project started with two initial goals. First, to create something cool using only components that I had on hand, and second, to create something that I could give to my little sister as a birthday present.
The idea I landed on was a chameleon mood light, that with the help of an RGB sensor, could change to any colour.
Hardware Design
The hardware for this project is quite simple. The program is run on an Arduino Nano which is wired to 2 RGB LEDs, a motion sensor and an RGB sensor.
While at rest the program cycles the LEDs through the RGB rainbow which creates the mood light aspect of the project.

On the back of the chameleon there is a box which houses the Nano as well as the RGB and motion sensors. When motion is detected by the motion sensor, the RGB sensor is read and the chameleon fades to whatever colour was held in front of the sensor. The colour is displayed for 5 seconds and then the chameleon fades back into its mood light rhythm.
Mechanical Design
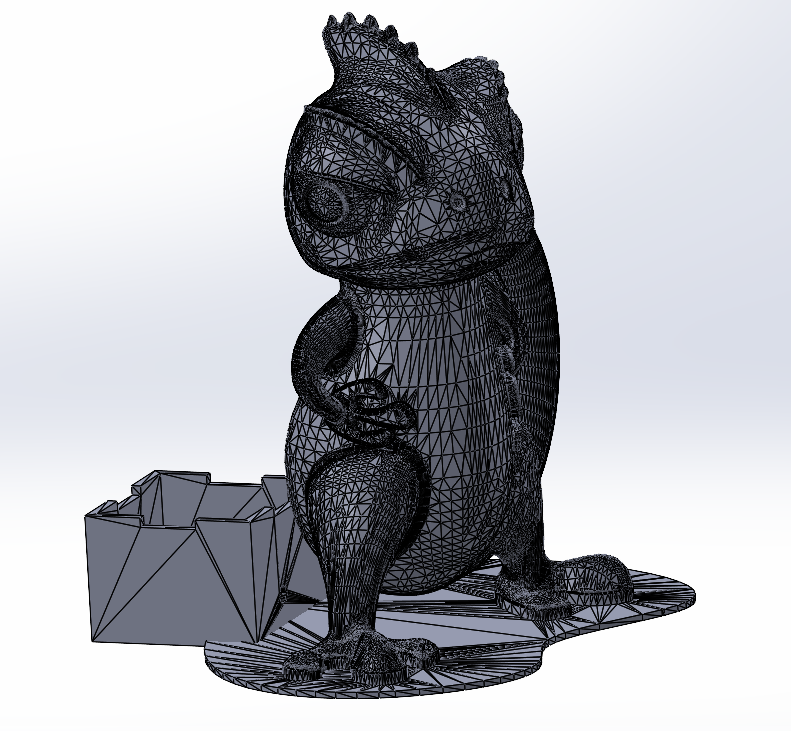
To create the CAD for this project I simply modified a SolidWorks file that I downloaded from another user on GrabCAD. The project is called Charlie - Algix Chameleon Mascot created by Ridwan Sept.
My contribution to the CAD was simply adding and a box to the back of the chameleon to house the electronics. Then I created a top plate which covered the box and allowed the motion sensor and RGB sensor to see.

Once the model was 3D printed, a 5mm drill bit was used to make holes for the LEDs to be inserted into the model. The model was printed without infill (hollow) for the best lighting effect.
Code
The code for this video can be broken down into two sections, the mood-light section and the RGB sensor section.
So long as the motion sensor is not reading anything, the program will continuously cycle through the RGB rainbow. The program is constantly checking the motion sensor to see if anything has been place in front of it.
Once the motion sensor has been triggered the RGB sensor is read and the data is then processed into a value that can be written to the RGB LEDs. This is done using a gamma-table which is did not create. I stole that bit of code from a tutorial I watched on using this colour sensor.
// Motion Sensor Detecting Stuff!
  if (motion) {
    delay(500);
    // Reading RGB Sensor
    uint16_t clear, red2, green2, blue2;
    tcs.setInterrupt(false);
    delay(60);
    tcs.getRawData(&red2, &green2, &blue2, &clear);
    tcs.setInterrupt(true);

    uint32_t sum = clear;
    float r, g, b;

    //Setting up the colours we want to fade to
    r = red2; r /= sum;
    g = green2; g /= sum;
    b = blue2; b /= sum;
    r *= 256; g *= 256; b *= 256;
    float finalRed = gammatable[(int)r] * 2.7;
    float finalGreen = gammatable[(int)g] * 4.2;
    float finalBlue = gammatable[(int)b]  * 6;
    // Setting limits on colours
    if (finalRed > 255) {
      finalRed=255;
    }
    if (finalGreen > 255) {
      finalGreen=255;
    }
    if (finalBlue > 255) {
      finalBlue=255;
    }

    float initialRed = red;
    float initialGreen = green;
    float initialBlue = blue;

    // Fade into the reading
    for (int i=0; i<255; i++) {
      delay(dt2);
      float currentRed = ((float)initialRed * (255 - i) + (finalRed * i))/255;
      float currentGreen = ((float)initialGreen * (255 - i) + (finalGreen * i))/255;
      float currentBlue = ((float)initialBlue * (255 - i) + (finalBlue * i))/255;

      analogWrite(redpin, (int)currentRed);
      analogWrite(greenpin, (int)currentGreen);
      analogWrite(bluepin, (int)currentBlue);
      analogWrite(redpin2, (int)currentRed);
      analogWrite(greenpin2, (int)currentGreen);
      analogWrite(bluepin2, (int)currentBlue);
    }
One of the trickier parts of the coding for this project was figuring out how to evenly fade from any one combination of (r, g, b) values to any other combination (r, g, b) values. This stumped me for a while even though I knew it wasn’t that hard. Eventually I came up with the solution above.
Concept Sketches

Reflection
This project was very fun project but I definitely could do better if I were to make this again.
Initially I wanted to have 3 RGB LEDs in the chameleon so that the tail would be lit as well as the head and body. However, I didn’t realize at the time that the analog pins on the Nano can only do analog reads, not writes. Therefore I only had enough PWM pins to run 2 RGB LEDs. If I were to do this project again I would consider using an RGB strip.
I could improve the code by making better use of functions. This project was completed before I had become comfortable creating functions in C++ and so the main body of the void loop is copy and pasted code with variable changes. I could also create a function for fading to and from the colour sensor read values but since it is only called once in the program it is not entirely necessary.
This project was a success based on the goals I started it with. My sister loved it and I got some great experience completing it.